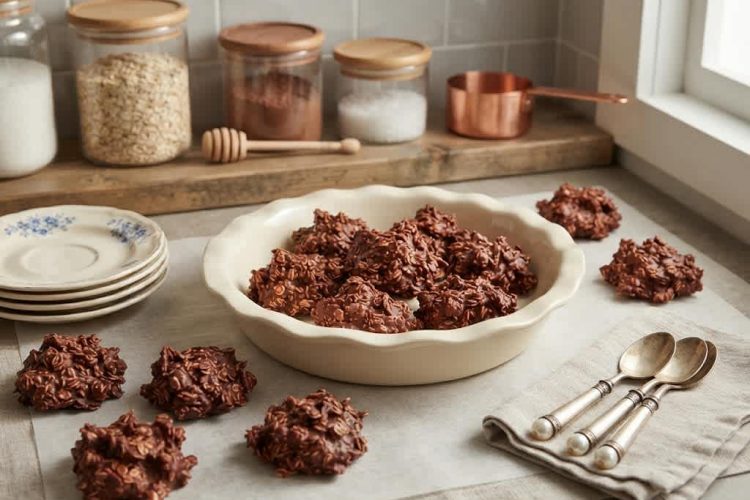
If you are looking for a quick low-carb dessert that can satisfy a chocolate craving without requiring an oven, these Keto Coconut Chocolate Bites are an easy option to keep in your recipe collection. Made with only four ingredients, these no-bake chocolate coconut bites come together in about five minutes before chilling.
They have a rich chocolate flavor, a pleasant coconut texture, and a convenient bite-size shape that makes them suitable for an afternoon treat, after-dinner dessert, or quick keto snack.
One of the most useful things about simple keto desserts is that they can make it easier to plan for sweet cravings. Rather than needing complicated ingredients or a long preparation process, this recipe uses keto semi-sweet chocolate chips, unsweetened shredded coconut, vanilla, and a small amount of salt.
The ingredients are combined after the chocolate is melted, then spooned onto parchment paper and frozen until firm. The result is a simple homemade treat with very little hands-on preparation.
These low-carb coconut chocolate bites are especially convenient when you want something sweet without turning on the oven. The chocolate provides the main flavor and a smooth base, while the unsweetened coconut adds texture and a naturally rich coconut taste. Vanilla rounds out the chocolate and coconut combination, while salt helps balance the sweetness and gives the finished bites a more complete flavor.
Why These Keto Chocolate Coconut Bites Work
A good no-bake dessert does not need a long ingredient list to taste satisfying. This recipe keeps things straightforward by combining chocolate and coconut, two ingredients that naturally work well together. The melted chocolate coats the shredded coconut and creates a mixture that can easily be portioned into individual bites. Once chilled, the chocolate becomes firm again and holds the coconut together.
The recipe is also useful for anyone who prefers small portions. Instead of preparing one large dessert that needs to be sliced, you simply drop the mixture by spoonfuls onto a prepared pan. This creates individual servings that are easy to store and grab when needed. Keeping the portions separate can also make it easier to manage how much you serve at one time.
Another advantage is the short preparation time. The chocolate is melted in the microwave in short intervals, which helps prevent overheating while allowing you to stir the mixture between intervals. After the coconut, vanilla, and salt are added, the mixture only needs to be portioned and frozen. With a total preparation and setting time of approximately 25 minutes, these bites are practical for busy days.
Choosing the Chocolate for a Low-Carb Dessert
The chocolate you use has an important effect on both flavor and nutrition. The original recipe uses keto semi-sweet chocolate chips, which provide sweetness while keeping the carbohydrate content low. When following a low-carb or keto eating plan, it is important to check the nutrition label on the particular chocolate product you purchase because carbohydrate amounts and sweeteners can differ between brands.
Semi-sweet keto chocolate creates a balanced flavor with the coconut. If you prefer a deeper chocolate taste, a dark chocolate-style keto chip can provide a more intense flavor. However, the ingredient specified for this recipe is keto semi-sweet chocolate chips, so the recipe card keeps that ingredient unchanged. When choosing an alternative product for your own preparation, always compare the nutrition information rather than assuming that every keto chocolate product has the same carbohydrate content.
Sweeteners can also vary considerably. Some keto chocolate products use combinations of erythritol, stevia, monk fruit, or other sugar substitutes. These ingredients can affect sweetness, aftertaste, texture, and how the chocolate behaves when melted. For that reason, the final result may vary slightly depending on the brand you use.
The Role of Unsweetened Coconut
Unsweetened shredded coconut gives these bites their characteristic texture and coconut flavor without adding the extra sugar found in sweetened coconut products. It is important to use unsweetened coconut when preparing a low-carb dessert because sweetened coconut can contain considerably more sugar and carbohydrates.
The shredded form is particularly convenient for this recipe because the small pieces mix evenly through the melted chocolate. Every bite gets a combination of chocolate and coconut, rather than having large pieces of coconut dominate the texture. The shredded coconut also makes the mixture easy to scoop into small portions before freezing.
Different brands of coconut can have different nutrition information, so checking the package is useful when carbohydrate intake matters. Even products described as unsweetened can have slightly different nutritional values. If you are carefully tracking carbohydrates, use the label from the specific product you purchase when calculating the nutrition for your serving.
How to Melt the Chocolate Correctly
Melting the chocolate is the most important preparation step because the texture of the finished mixture depends on having a smooth chocolate base. A microwave-safe bowl should be used, and the chocolate chips should be heated in short 30-second intervals. Stir the chocolate after each interval, even if it does not initially appear completely melted.
Short heating intervals give you better control than microwaving the chocolate continuously. Chocolate can become overheated quickly, and excessive heat can make it thick, grainy, or difficult to work with. Gentle heating followed by stirring allows the remaining pieces to melt from the warmth already present in the bowl.
Continue the process until the chocolate is completely melted and smooth. The original recipe indicates approximately 1½ to 2 minutes of total microwave time, although the exact time can vary depending on the microwave and the quantity of chocolate. Do not rely only on the clock; use the smooth appearance of the melted chocolate as your guide.
Combining the Ingredients
Once the chocolate is smooth, add the unsweetened shredded coconut, vanilla, and salt. Stir everything together until the coconut is evenly coated with chocolate. Mixing thoroughly is important because it distributes the vanilla and salt throughout the mixture while ensuring that the coconut is incorporated instead of remaining concentrated in certain areas.
The mixture should be thick enough to hold together when dropped by spoonfuls. If you work efficiently, the chocolate should remain soft enough to portion easily. A medium-sized pan or baking sheet lined with parchment paper provides a clean surface for shaping the bites and makes cleanup easier afterward.
There is no need to shape every portion perfectly. These are homemade bite-size treats, so naturally rounded spoonfuls are completely suitable. Keeping the portions relatively similar in size is helpful because it allows them to set at approximately the same rate and makes the serving information easier to follow.
Freezing and Setting the Chocolate Bites
After portioning the chocolate coconut mixture, place the prepared pan in the freezer for approximately 20 minutes or until the bites are set. Freezing quickly firms the melted chocolate and allows the coconut pieces to become held together in a solid bite.
The bites do not need to remain in the freezer indefinitely. Once they are firm, they can be transferred to a covered container and kept refrigerated until you are ready to serve them. This makes the recipe useful for preparing a small batch ahead of time.
For the best eating texture, the recipe recommends allowing the bites to sit at room temperature for approximately 15 to 20 minutes before serving. This gives the chocolate a chance to soften slightly. Straight from the refrigerator, the chocolate may be very firm, while a short rest produces a more pleasant texture.
Serving Suggestions
These keto coconut chocolate bites are naturally portioned as small treats, so they can be served whenever you want something sweet without preparing a larger dessert. They work well after a meal, alongside a cup of unsweetened tea or coffee, or as a small afternoon snack.
Because the bites are rich in chocolate and coconut, a small serving can be satisfying. Their compact size also makes them convenient for storing in the refrigerator. If you are preparing them for several people, place the individual bites in a covered container and keep them chilled until serving.
You can also prepare them in advance for occasions when you expect to want a quick low-carb dessert. Since the recipe requires only a handful of ingredients and a short setting time, it is easier to prepare than many baked keto desserts.
Storage and Make-Ahead Notes
After the bites have set, store them in a covered container in the refrigerator. Keeping them chilled helps maintain their shape and prevents the chocolate from becoming too soft. Refrigerated storage is especially useful if your kitchen is warm, because chocolate can soften at higher room temperatures.
When you are ready to eat them, remove the desired number of bites from the refrigerator and allow them to sit at room temperature for approximately 15 to 20 minutes. This step is recommended for the best texture. You do not need to bring the entire container to room temperature if you are only serving a portion.
The recipe is also easy to prepare ahead of time. Making the bites before you need them means you can simply take them from the refrigerator when a sweet craving arrives. This can be particularly convenient when following a planned eating routine and wanting a ready-made low-carb option available.
Nutrition and Portion Awareness
According to the nutrition information provided for the recipe, one serving contains 143 calories, 12 grams of total fat, 9 grams of saturated fat, 3 grams of unsaturated fat, and 2 grams of protein. The listed carbohydrate content is 2.8 grams, including 1.9 grams of fiber, for a stated net carbohydrate amount of 0.9 grams per serving.
The recipe also lists zero grams of cholesterol and zero grams of trans fat, with 72 milligrams of sodium per serving. As with any recipe containing packaged ingredients, actual nutrition can vary according to the brands and products used. For accurate personal tracking, use the nutrition labels of the specific chocolate and coconut selected for your batch.
A Simple Keto Sweet to Keep on Hand
These Low-Carb Keto Coconut Chocolate Bites demonstrate how a satisfying homemade dessert can be made with very little preparation. The combination of keto semi-sweet chocolate and unsweetened shredded coconut creates a rich, textured treat, while vanilla and salt help balance the overall flavor. With no baking required and only 20 minutes of setting time, the recipe is convenient enough for everyday use.
Whether you are looking for an easy keto dessert, a low-carb chocolate snack, or a quick no-bake sweet treat, these coconut chocolate bites offer a straightforward solution. Prepare the chocolate carefully, mix the ingredients thoroughly, freeze until set, and store the finished bites in the refrigerator. With those simple steps, you can have a small homemade dessert ready whenever you want a chocolate-and-coconut combination.
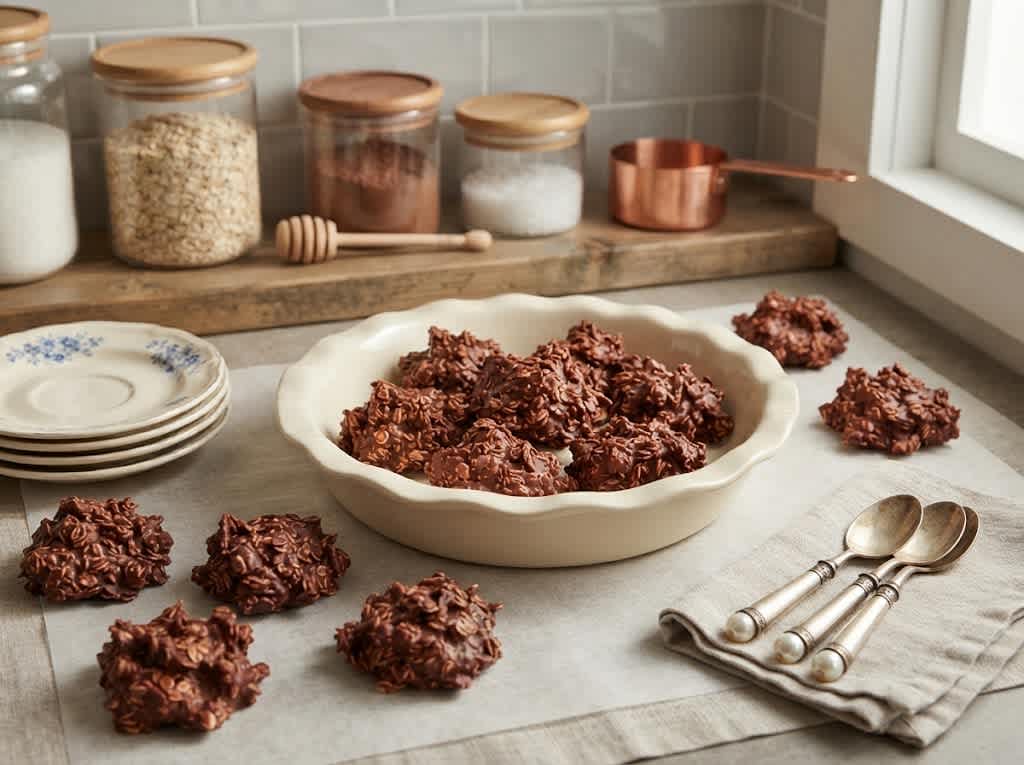
Low-Carb Keto Coconut Chocolate Bites
 Recipe by admin1
These no-bake keto coconut chocolate bites are a quick four-ingredient dessert made with keto semi-sweet chocolate chips, unsweetened shredded coconut, vanilla, and salt.
8
servings5
minutes143
kcal20
minutes25
minutesIngredients
1 cup keto semi-sweet chocolate chips
1 cup unsweetened shredded coconut
1 teaspoon vanilla
¼ teaspoon salt
Directions
- Line a medium-sized pan or baking sheet with parchment paper and set it aside.
- Place the keto semi-sweet chocolate chips in a medium microwave-safe bowl.
- Microwave the chocolate chips in 30-second intervals. Stir thoroughly after each interval until the chocolate is completely melted and smooth. This should take approximately 1½ to 2 minutes in total, depending on your microwave.
- Add the unsweetened shredded coconut, vanilla, and salt to the melted chocolate.
- Stir the mixture thoroughly until the coconut is evenly distributed and completely coated with the melted chocolate.
- Drop the mixture by spoonfuls onto the prepared parchment-lined pan, forming individual bite-size portions.
- Place the pan in the freezer and freeze for approximately 20 minutes, or until the chocolate coconut bites are firm and set.
- Serve immediately once set, or place the bites in a covered container and refrigerate until ready to serve.
- For the best texture, remove the desired bites from the refrigerator and allow them to sit at room temperature for 15 to 20 minutes before serving.
- Refrigerate any leftovers in a covered container.
Nutrition Facts
- Total number of serves: 1
- Calories: 143kcal
- Fat: 0g
- Carbohydrates: 2.8g
- Fiber: 1.9g
- Protein: 2g


